gathered mules
- Mar 15
- 3 min read
Updated: Mar 16

The process began with a scrap of beautiful brown perforated lambskin found in the scrap bin at a fabric store in the Garment District. I wanted to utilize the perforations, and I realized I could thread a needle through the perforations to create a discreet, controlled gather without creating new holes in the leather. I had a limited amount of leather to utilize, so I stuck to an open toed mule to minimize material use.
The pattern was fairly simple, just two pieces – the lining and the gathered top, but it required some careful slash and spreading to concentrate the gather in the center of the mule and maintain a smooth appearance at the edge where the upper meets the sole. I went with a 3 to 1 density on the gather to have a nice fullness but not too much going on in the middle. Placing the pattern pieces takes care because you need to align a straight line of perforations along the middle so you can gather the leather properly and not at an angle.


I squared and angled the toe to follow the natural toe line and create a more modern look (compared to the round toe of the last)

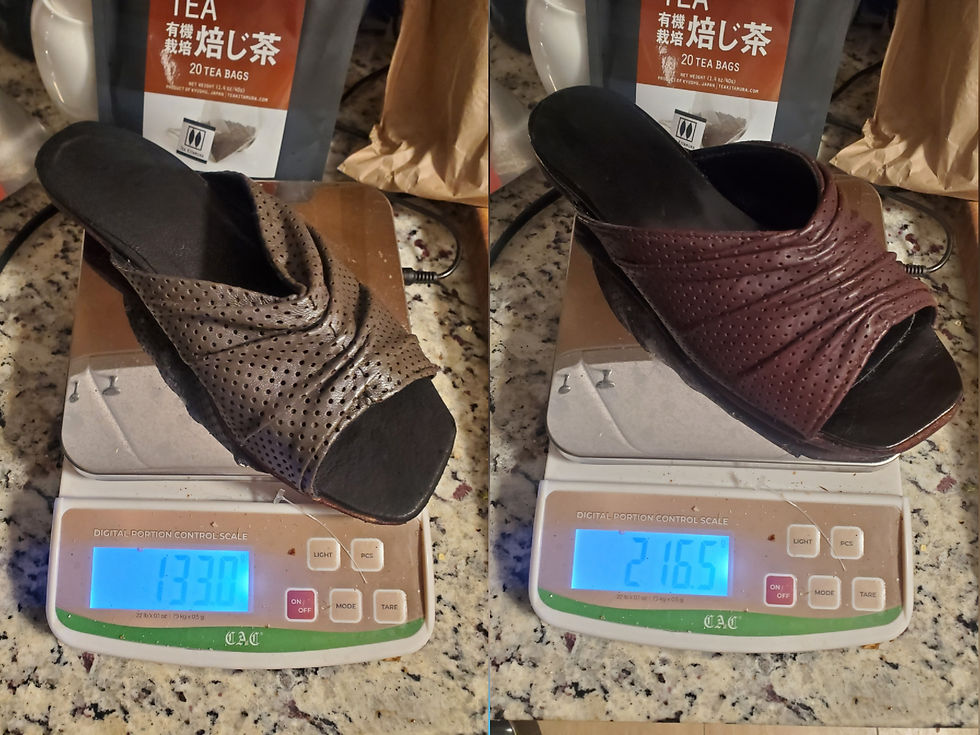
I created another sample out of an olive perforated leather I found, although I did not like how the perforations were larger and in a different pattern than the brown sample, but it was considerably difficult, if not impossible, to find a comparable leather to the brown, even in black.


Next was the heel. I felt a standard block heel would clash with the simple elegance of the gather and the sleek top line, so I created a teardrop shaped stacked leather heel that referenced the top line and almost disappears into the floor – creating a sense of floating – but still maintaining strength and stability while worn. I angled the teardrop apex so as to mirror the angle of the topline to create an elegant curve when seen from the side. The back of the heel follows the curve of the heel of the foot to create a flattering line.


I tested different outsole treatments on the sample and went with a dark brown that matched the final upper leather to contrast with the black lining and insole.

All that was left to do was to create the final pair! The final pair has a metal shank for stability and uses proper outsole leather, so it is thicker and sturdier than the samples. The heels were made of less layers as a result of the thicker leather, and they were attached to the shoe with a stronger cement. I properly carved the heels with a dremel to match the slight curves of the outsole and to smooth the layer edges.

It was interesting to note the difference in weight between the second sample and the final shoe ‐ the final shoe weighed around 80 grams more! But that was necessary to add stability and strength to the final shoes. They are still very comfortable to wear and use and the weight adds a luxurious, well made feeling.
The outsole leather did take up the leather dye in a strange way, ending up purple instead of a cordovan color as expected, but I think it's a happy accident as it still looks good.


You can see more finished photos of the final shoe here.


Comments